
Start with the job, not the disc
The quickest way to waste money is to buy abrasives by size only. Start by asking what you are doing: cutting mild steel, removing welds, dressing stainless, shaping timber, or finishing painted panels. Each task needs a different bond, grit and backing. A disc that works well on angle iron may load up fast on aluminium or leave deep scratches on sheet metal.
In Pinetown and the wider Durban area, many workshops deal with mixed work. One day it is gate repairs, the next it is trailer brackets or stainless railings for coastal homes. That means your abrasives list must cover more than one material. Keep a simple stock sheet so you can see what gets used most, then order to match actual jobs not guesses.
- Identify the main material: mild steel, stainless steel, aluminium, wood or paint.
- Choose the task: cut, grind, clean, blend or finish.
- Match the abrasive to the tool speed and size.
- Check whether the job is dry, dusty or near moisture.
Match grit, bond and backing to the finish you need
Grit size tells you how coarse or fine the abrasive is, but it is only part of the story. The bond holds the grit in place and the backing supports the material as it wears. For rough stock removal, a coarse grit gives faster cut. For surface prep before paint, a medium grit is often enough. For finishing and blending, step up gradually instead of jumping straight to a very fine grade.
On thin sheet or light sections, choose products that cut cleanly without chewing into the base material. On heavier fabrication work, a tougher backing can handle pressure and longer use. If you are working near the coast or in damp stores, keep consumables sealed and off the floor so humidity does not affect performance. That small bit of care can save a lot of frustration later.
- Coarse grit for heavy removal and cutting back welds.
- Medium grit for prep before primer or paint.
- Fine grit for final finish and blending marks.
- Use flexible backings on contoured surfaces.
Choose the right cutting and grinding consumables
Cutting discs are for slicing through material quickly and cleanly, while grinding discs are for shaping, cleaning and removing excess material. Do not use a cutting disc for heavy side pressure, and do not force a grinding wheel into a cut. The wrong use shortens life and can cause poor control at the tool.
For regular trade work, keep separate stock for steel and stainless where needed. Stainless work should be kept clean so contamination does not mark the job. If your team handles both fabrication and maintenance, label storage clearly and make sure everyone knows which consumable suits which task. That kind of sorting helps in busy shops in Westmead, New Germany and Hillcrest where more than one team may be drawing from the same shelf.
- Cutting discs: thin sections, brackets, pipe and bar stock.
- Grinding wheels: weld dressing, edge shaping and surface removal.
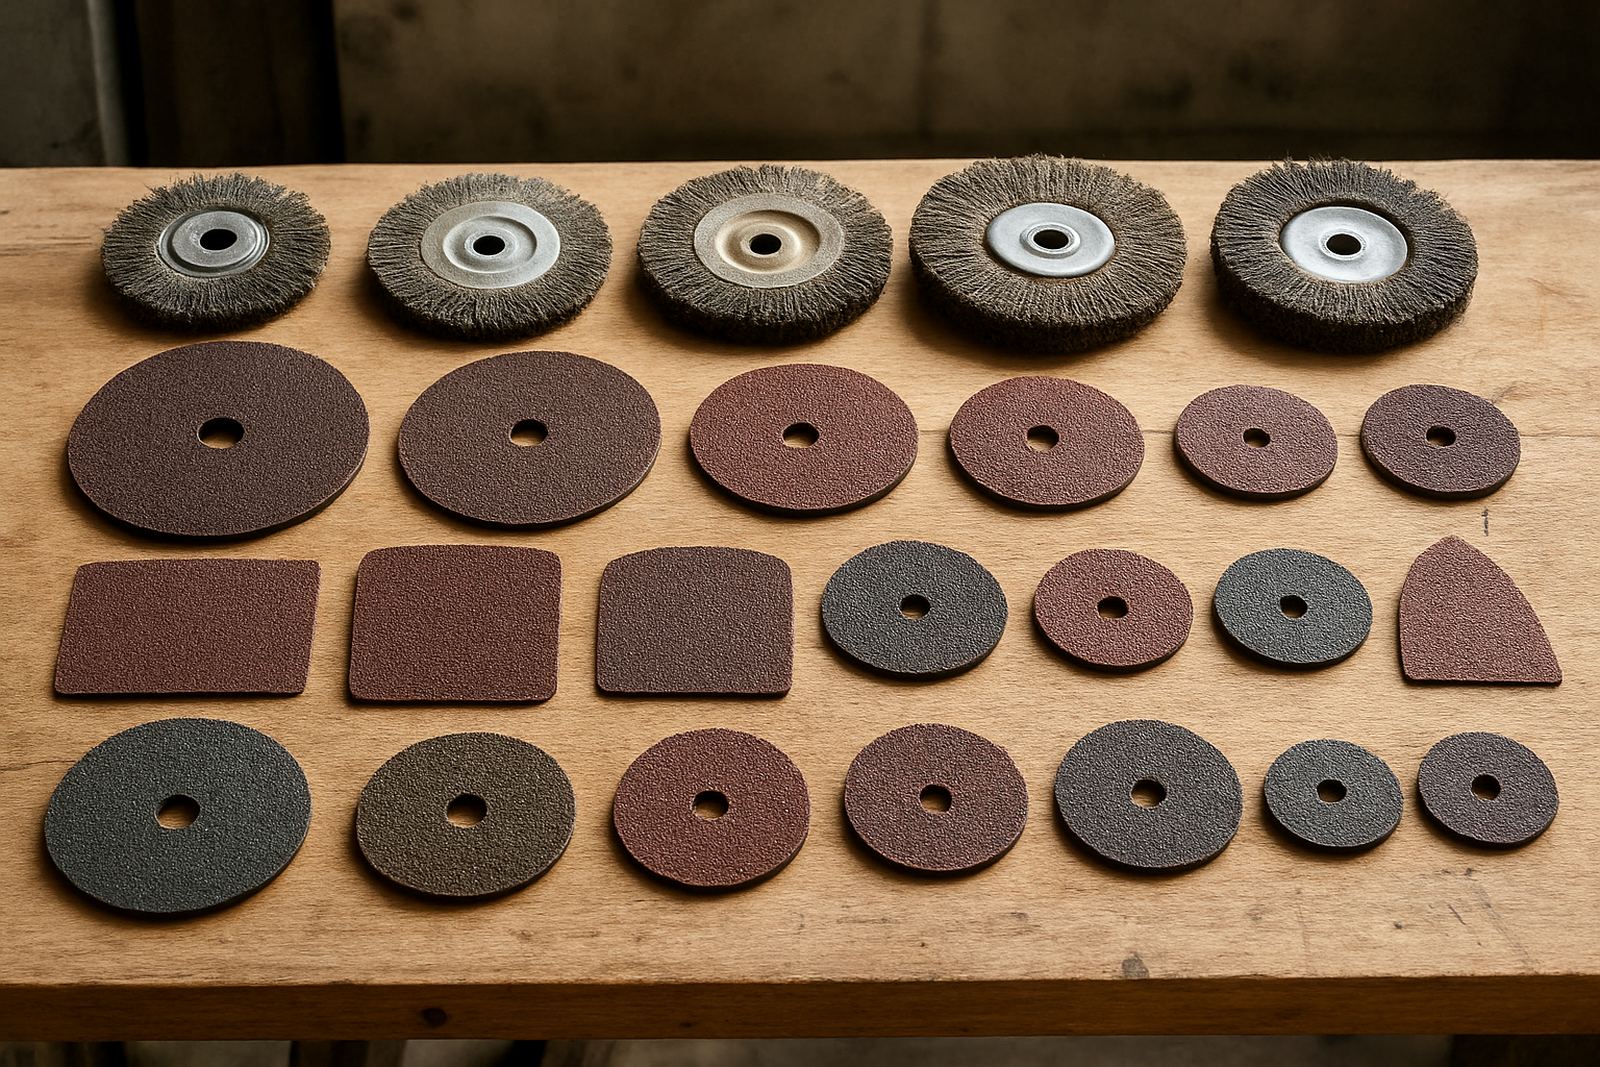
- Flap discs: blending, light grinding and finishing in one pass.
- Wire products: rust removal, paint stripping and surface clean-up.
Keep power-tool accessories in step with the machine
A good abrasive can still perform badly if the machine is not set up properly. Check bore size, backing pad type, spindle compatibility and maximum speed before use. A disc that is too small, too large or fitted with the wrong support pad will wear unevenly and may not track true. That matters on long shifts where tools are used all day and sometimes during load shedding when teams work around charging windows and generator supply.
Before starting, inspect the tool, fit the accessory securely and let it reach speed before touching the job. If the machine vibrates, stops quickly or sounds rough, take it out of service and check the fit. Better to spend two minutes on setup than replace an entire batch of consumables.
- Check compatibility with the tool and spindle.
- Inspect for cracks, missing grit or damaged backing.
- Use the correct pad or guard where required.
- Keep the workpiece clamped to reduce pressure on the abrasive.
Build a workshop stock list that actually works
Abrasives are easiest to manage when your stock list follows the jobs you do most often. Start with a core range for cutting, grinding, finishing and cleaning. Then add sizes and grits that match your regular materials. For many Durban and Pinetown workshops, that means a practical mix for gate repairs, general maintenance, auto body prep and light fabrication.
Use minimum and maximum quantities so you know when to reorder before a shortage stops work. If a product disappears fast, it should be on a replenishment list. If it sits for months, question whether it belongs on the shelf. Standardising the list also makes training easier because new staff can learn the same sequence every time.
- Set a minimum stock level for fast-moving discs and belts.
- Separate items by task, not by random box size.
- Keep stainless only stock clearly marked.
- Record what gets used in busy months and during shutdown periods.
Safety checks before the first cut
Abrasives wear out, and worn consumables must come off the tool before they become a problem. Check for chips, glazing, cracks, heat damage and uneven wear. Replace anything that looks doubtful. Eye protection, gloves, hearing protection and a face shield where needed should be standard, not optional. Grinding dust can build up quickly in enclosed workshops, so keep extraction and clean-up part of the routine.
For on-site work, especially around residential or municipal properties, keep the job area tidy and dispose of waste correctly. That matters on estate work, shopfitting and public-facing maintenance jobs where people notice the state of the site. A neat setup also protects the crew and speeds up handover.
- Inspect every abrasive before fitting.
- Remove damaged or heat-marked items immediately.
- Use the right PPE for cutting and grinding tasks.
- Clean the work area before and after use.