
Why Measuring Discipline Pays Off On Site And In The Workshop
When a job goes wrong, the mistake is often not the cut itself but the measurement that led to it. A hinge plate that is 3 mm out, a cabinet opening marked from the wrong edge, or a pipe run measured without allowing for fittings can throw off an entire install. Good measuring habits are worth as much as the tool in your hand.
Trade workshops in Pinetown, Westmead and New Germany see this every day. A fitter may be working fast to meet a handover, or a DIY customer may be setting up a first workshop at home and using whatever tape measure is close by. The result is the same: poor fitment, wasted board, wasted steel and sometimes an upset client. Measuring well is not slow work, it is efficient work.
- Start every job with a clean tape measure or rule
- Check the zero point before marking
- Write down key dimensions instead of holding them in your head
- Double check the final figure before cutting
Use The Right Measuring Tool For The Job
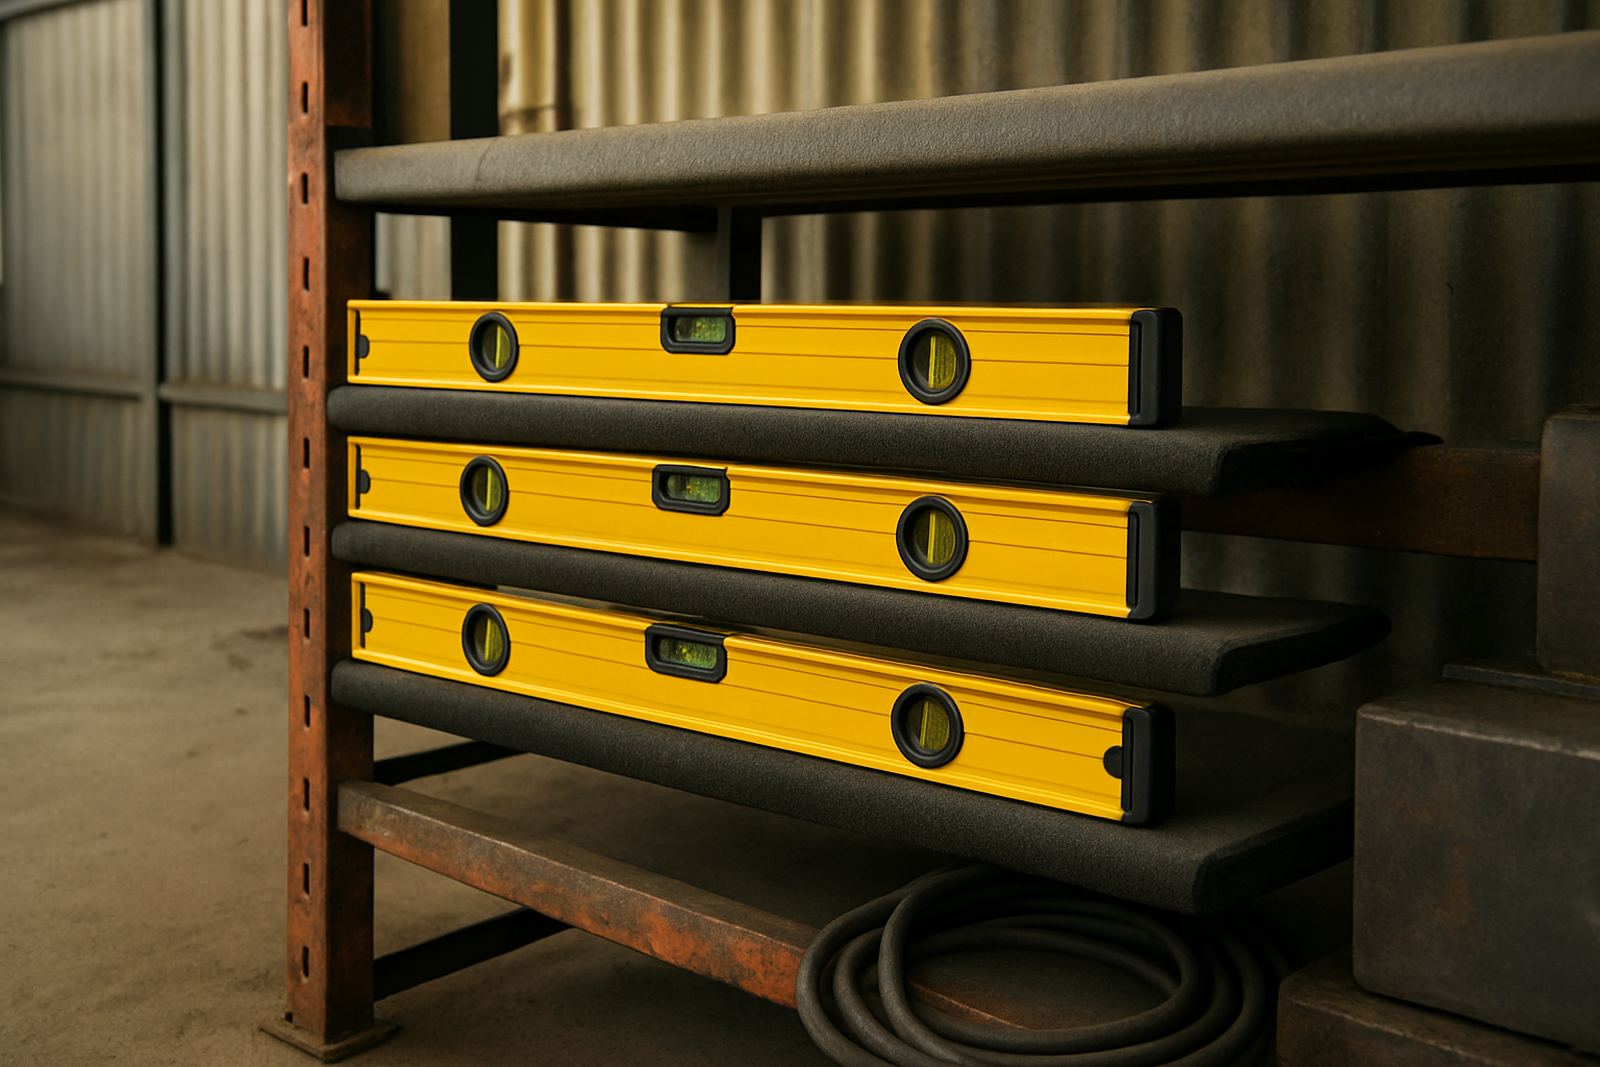
Not every task needs the same measuring tool. A general purpose tape measure works for many jobs, but a steel rule, combination square, try square or angle finder is often better when accuracy matters. For workshop setup, equipment spacing and bench layouts, a longer tape and a straight edge can help you keep runs consistent from one end of the room to the other.
In Durban’s coastal humidity, measuring tools need a bit of care. Tape blades can corrode, markings can wear, and dust from cutting timber or mild steel can build up in moving parts. Wipe tools after use and store them dry. If a workshop is hit by load shedding and work stops mid job, put the tools away properly before power comes back and everyone is rushing again.
- Use a square for 90 degree marking, not freehand lines
- Use a rule for short repeat cuts and detail work
- Use a tape with clear metric markings for framing and site work
- Check any worn or damaged blade before relying on it
Mark From A Known Edge, Not A Guess
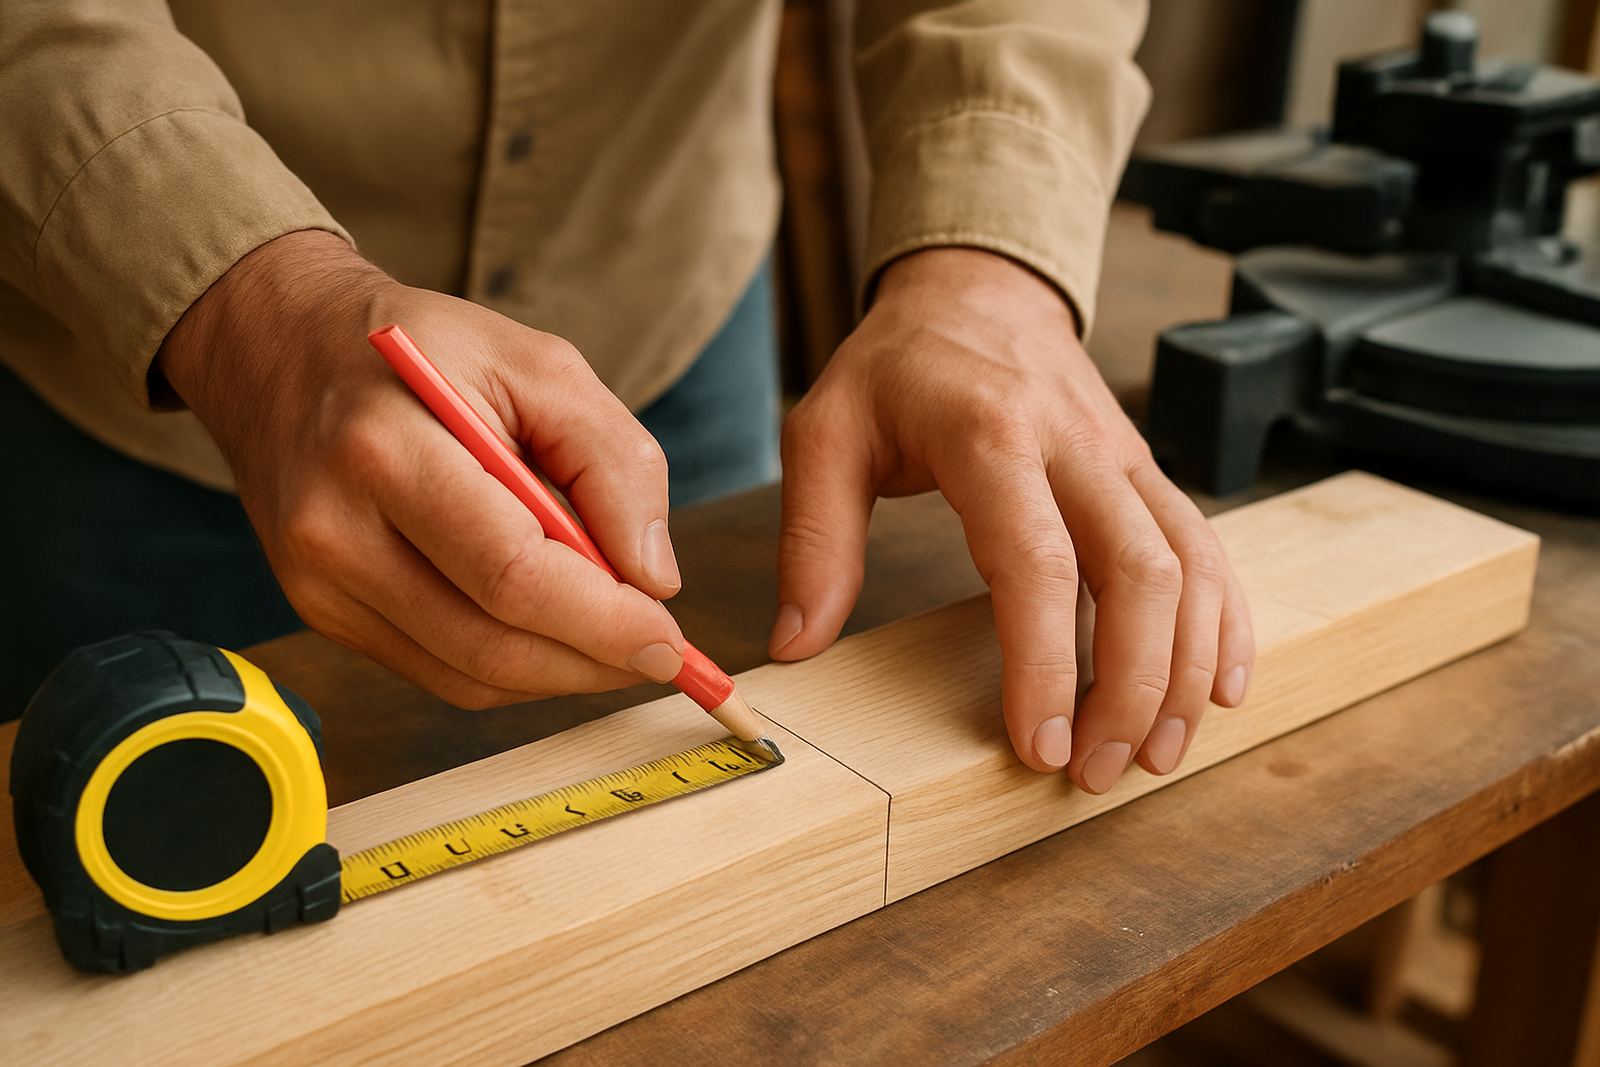
One of the biggest sources of error is starting from a different reference point each time. Pick a known edge, face or datum and stay consistent. If you are cutting cabinet parts, measure from the same side of every board. If you are laying out brackets or holes, mark from one fixed line so that every part matches.
This matters when you are matching replacement tools or ordering consumables too. If a client in Hillcrest brings in an old part, the first measurement you take should tell you whether it is imperial or metric, worn down, bent or no longer true. A quick measure from the wrong edge can lead to the wrong replacement and another trip back to site. Keep notes on the work order and label each mark clearly, even if it feels obvious at the time.
It also helps to use a sharp pencil, scriber or fine marker rather than a thick line. The wider the line, the more room for error. On small parts, that line can be the difference between a snug fit and a loose one.
Allow For Material Behaviour Before You Cut
Material is not always as straight as it looks. Timber can twist, sheet board can swell, and metal can have burrs or slight bends from storage and handling. That is why experienced tradespeople measure the actual piece in front of them, not only the size printed on the stock list. In coastal Durban, moisture can change how timber and board behave from one week to the next.
Good practice is to inspect before you measure. Look for cup, twist, bow and damage on the edges. If the material is not true, decide whether the finished dimension should follow the sheet size or the usable size after trimming. For pipework and fittings, remember to allow for wall thickness, sockets and joins. A 20 mm allowance missed at the planning stage can become a costly problem later.
- Measure the actual stock, not only the nominal size
- Trim damaged edges before marking final dimensions
- Allow for fittings, joiners and overlap where needed
- Note any warped or swollen stock before installation starts
Build A Repeatable Measuring Routine For Faster Work
A measuring routine keeps work moving when the workshop is busy. Many teams in Pinetown and Westmead use a simple sequence: check the drawing, confirm the stock size, measure the part, mark it, re check it, then cut. That small routine reduces confusion when more than one person is working on a job.
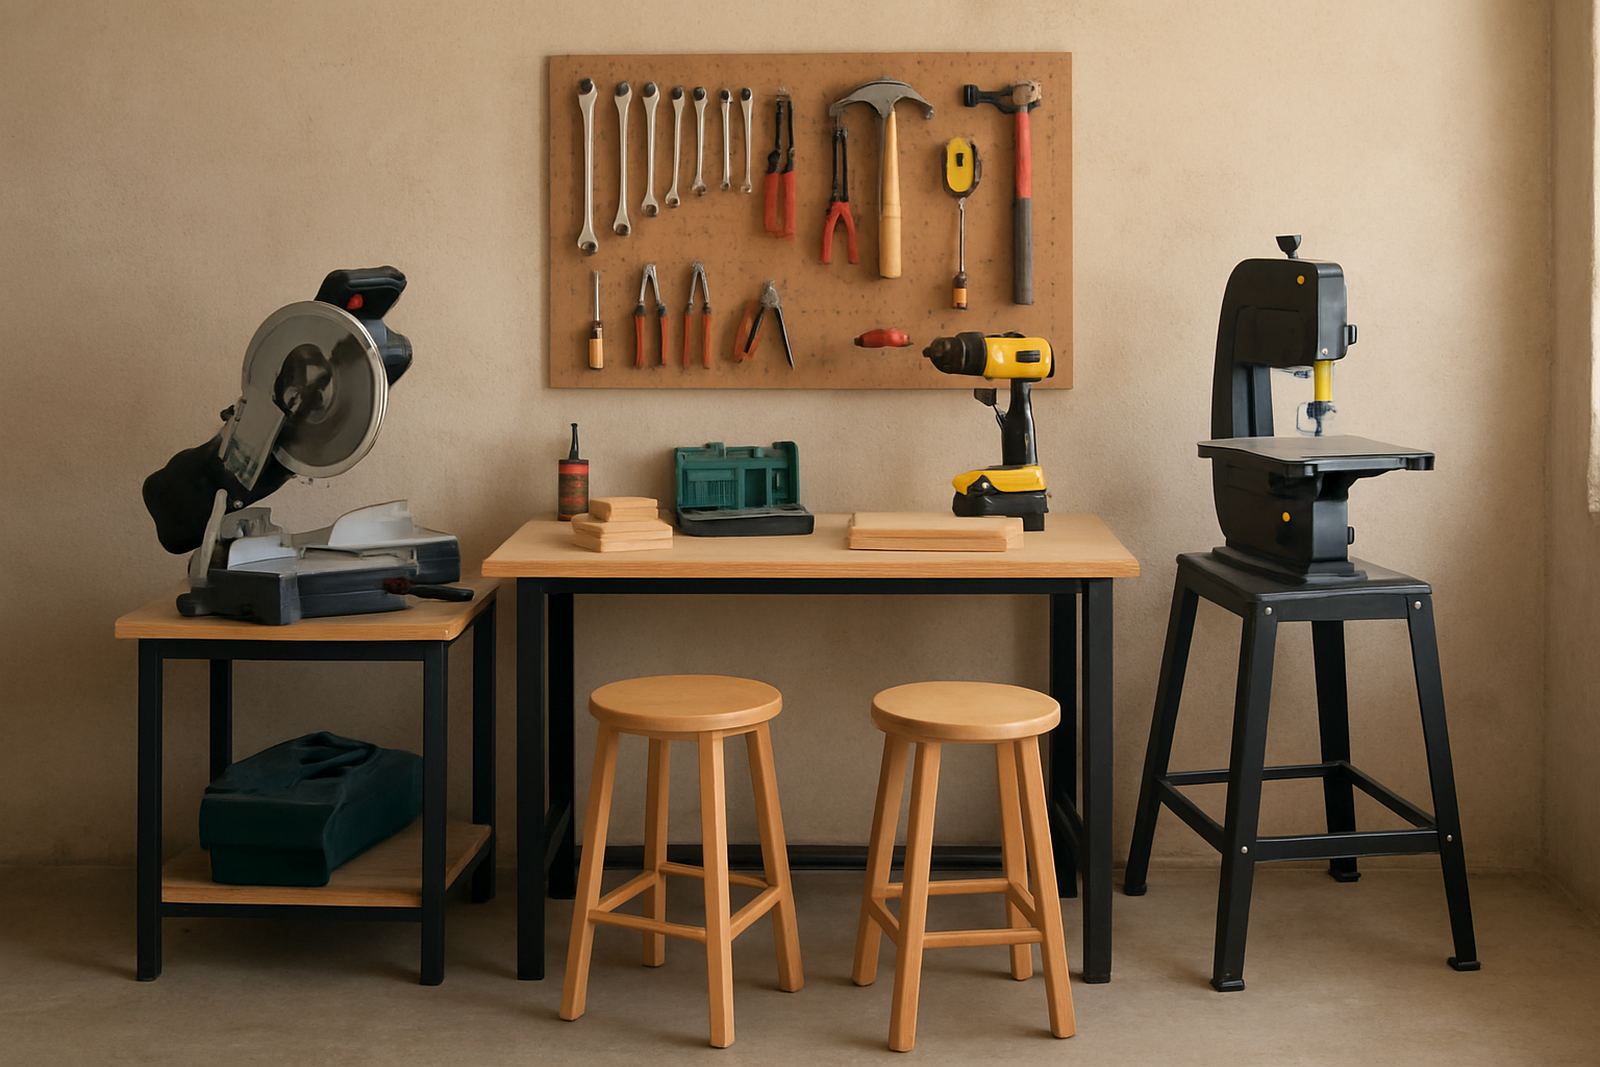
For starter workshops, it helps to standardise the stock list and keep common lengths, fixings and blades in the same place every time. If the same person can find the tape, square and pencil without searching, the whole job runs better. Training also matters. A new apprentice can learn faster when the measuring method is shown clearly once, then repeated in the same way on every task.
At Jameson Tools, practical training support often goes hand in hand with the tool kit itself. A good kit should not only include the items you need, it should help you use them in a sensible order. That is what saves time on the floor and keeps the scrap bin from filling up too quickly.
A Durban Example: Less Waste On A Small Workshop Fit-Out
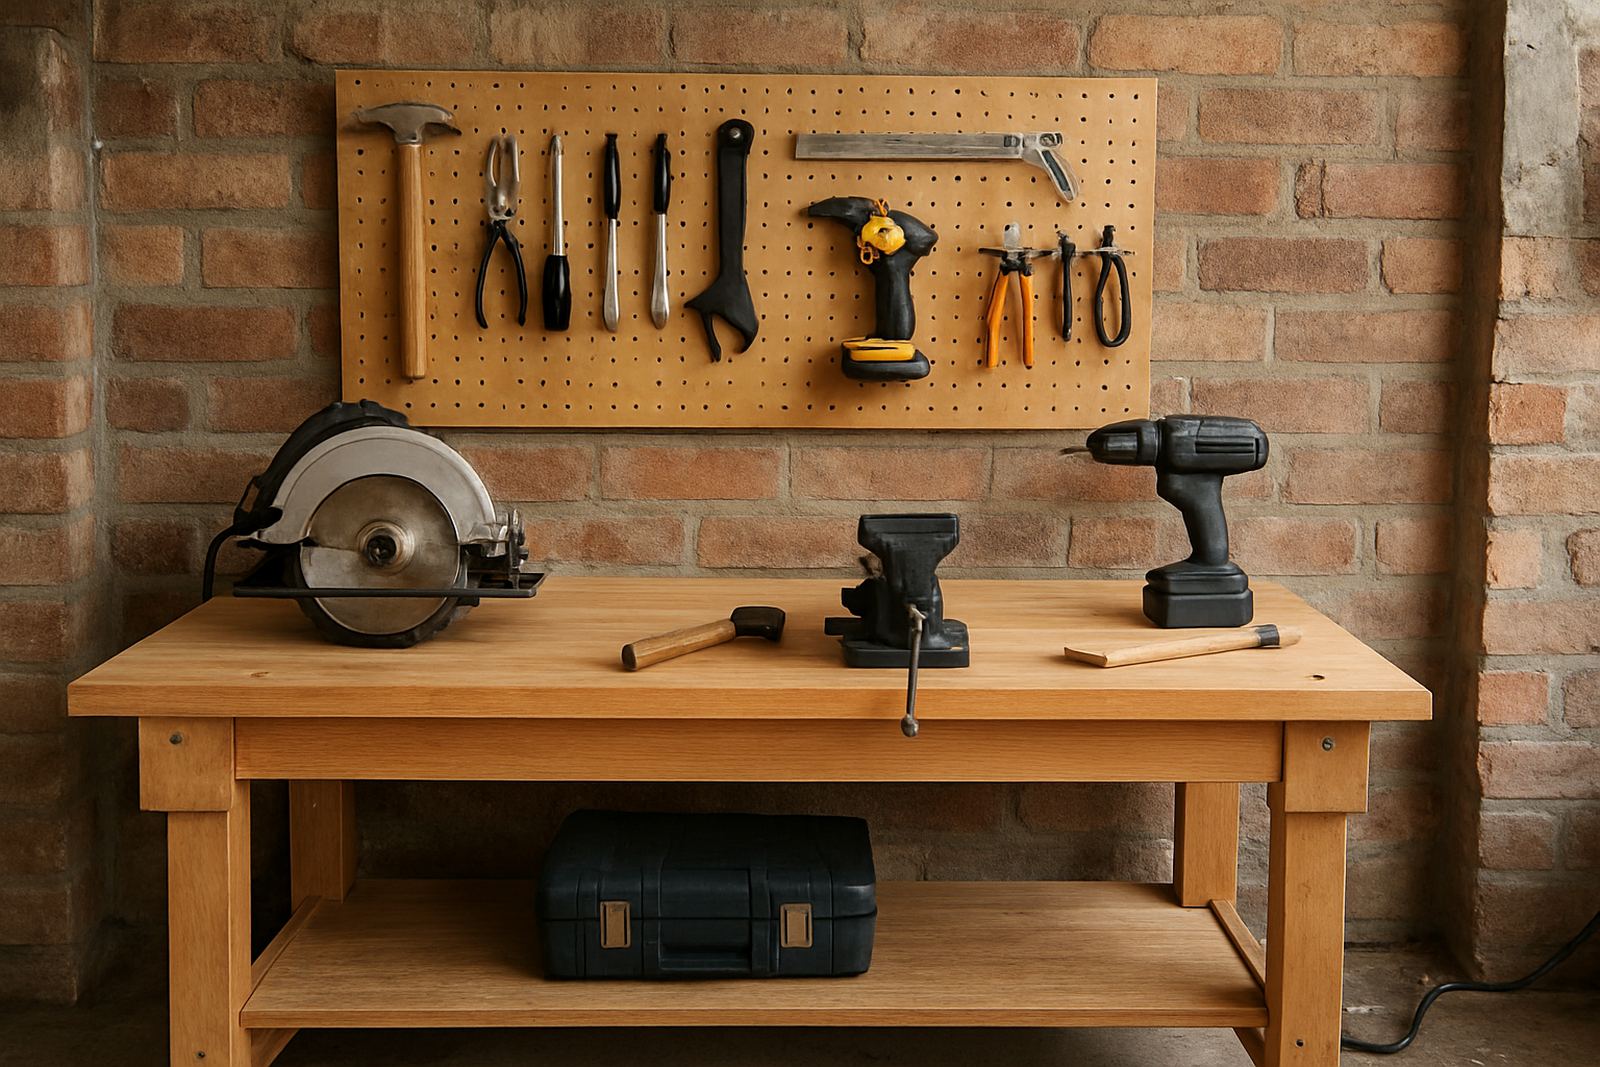
A small workshop in Durban North was setting up a new bench area for repairs, assembly and packing. The team had limited floor space and needed every metre to count. Before ordering more material, they measured the room twice, then measured again from the finished wall surfaces rather than the rough opening only. That small detail changed the layout enough to avoid a bad fit around a doorway and a storage run.
They also checked power point positions before fixing the bench height, which mattered because load shedding meant they had to plan for battery tools and backup lighting. By taking measurements from the actual site conditions, not the paper sketch alone, they avoided rework and cut waste on the first install. It was not a complicated job, just one done with care.
- Measure walls, not just room size on a plan
- Check power, door swings and access routes before final marking
- Keep a written site note for each critical dimension
- Recheck after interruptions so no one resumes on the wrong mark
Better Measurement Means Better Buying Too
Accurate measuring helps with more than cutting and fitting. It improves purchasing decisions. When you know the true size of a job, you can order the right length of material, the correct bit size, the right number of fasteners and the proper consumables. That lowers dead stock and reduces emergency runs to the supplier.
For trade accounts, this makes stock planning easier as well. A standard list of common sizes helps keep replenishment orderly, especially when a business serves more than one area from Pinetown to Umhlanga. If your team measures consistently, your records become cleaner too, which makes repeat jobs faster and quote revisions less painful.
The old saying still holds because it works. Measure twice, mark once, then cut with confidence.