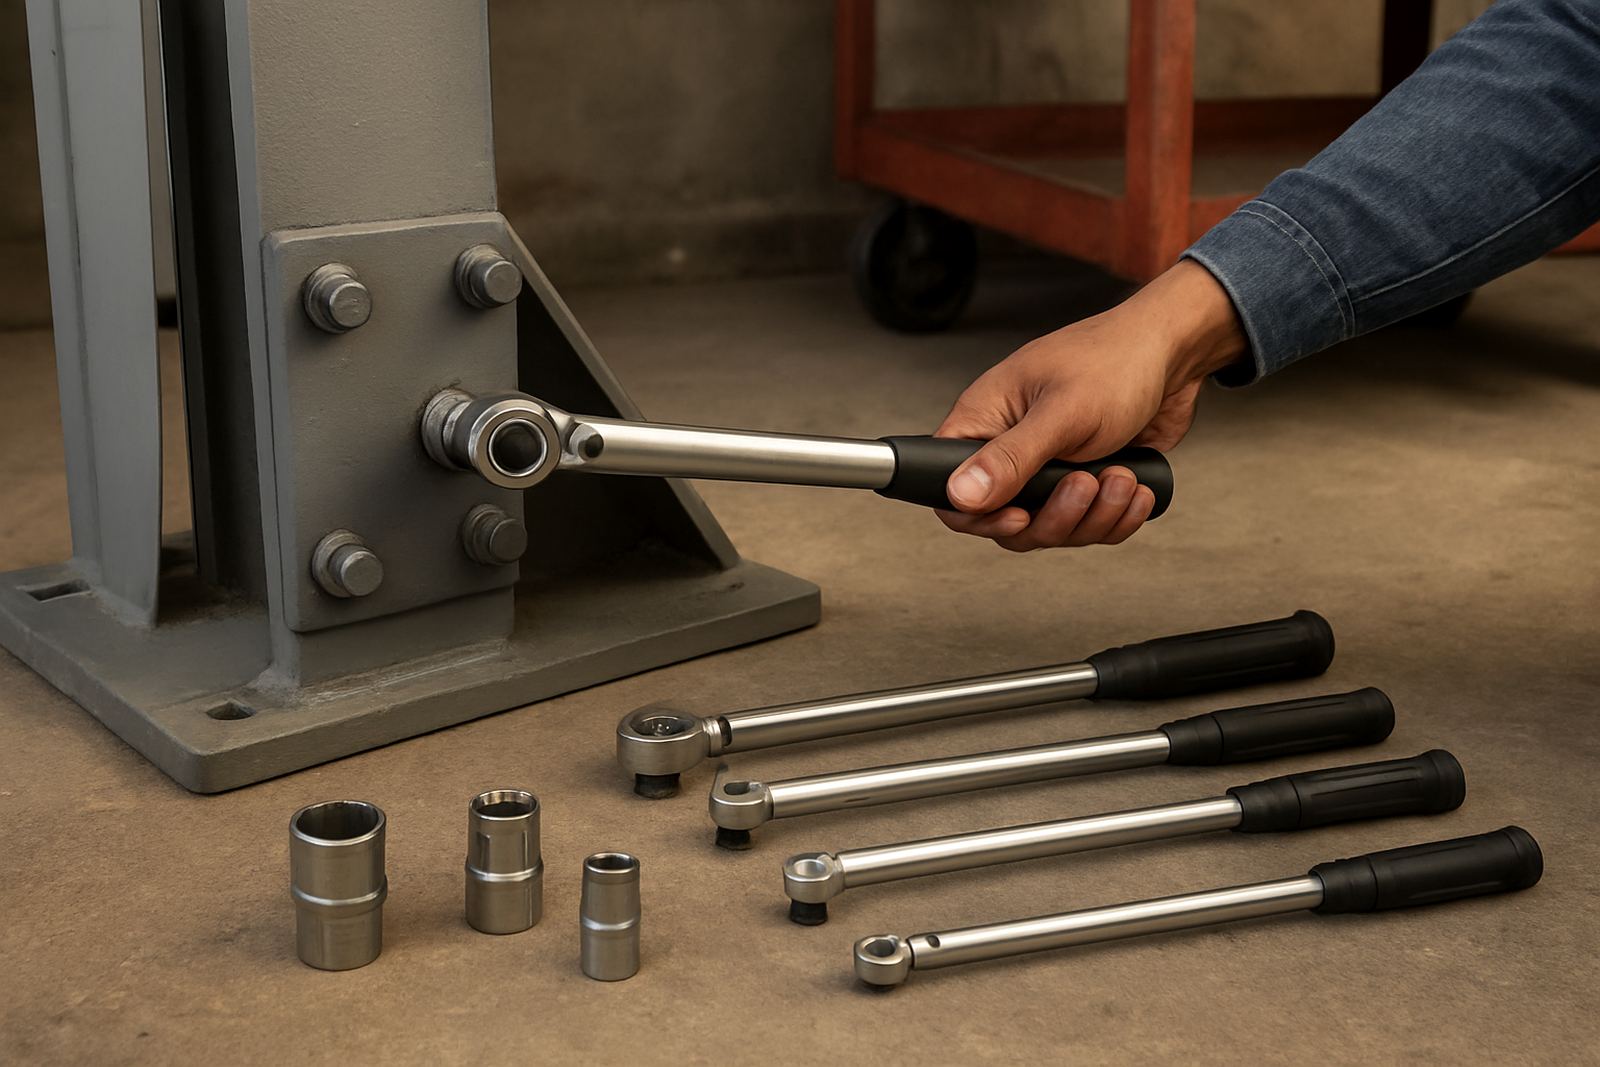
When Controlled Tightening Is Worth It
Torque tools are not only for heavy engineering. In a Durban workshop, they are useful any time a fastening job must be repeatable, safe, or protected from damage. That includes wheel work, engine covers, machinery guards, electrical enclosures, frame assemblies, and any job where uneven tightening can lead to leaks, vibration, or premature wear.
If you are working with aluminium parts, thin sheet metal, plastic housings, or high value assemblies, guessing by feel can be costly. Too little torque and the joint loosens under vibration. Too much torque and you can stretch bolts, crack a flange, or deform a mating surface. This is especially important in coastal areas like Umhlanga and Durban North where humidity and salt in the air can speed up corrosion on fittings if a joint is left loose or damaged.
- Use controlled tightening when the manufacturer gives a torque value.
- Use it when multiple fasteners must be tightened in a set pattern.
- Use it when stripped threads would mean long downtime or expensive repairs.
- Use it for repeat jobs where consistency matters across the team.
Choosing the Right Torque Range for the Job
Start with the fastener size, material, and the purpose of the joint. Small fasteners on panels or light assemblies may only need a low range tool, while suspension, wheel, and structural work needs a much higher range. A common mistake is using one torque wrench for everything. That leads to poor accuracy, especially near the bottom of the scale.
As a rule, choose a torque tool that places your normal work in the middle third of the range. That gives better control and makes the reading easier to repeat. For example, if most of your jobs sit around 30 Nm to 60 Nm, a tool that covers 20 Nm to 100 Nm is usually better than a huge range that starts at 5 Nm and goes far beyond what you need. In workshop terms, the right range is the one that matches the work you actually do, not the widest number on the box.
- Low torque work: electrical terminals, small covers, light brackets.
- Mid range work: general workshop assemblies, machine fittings, clamps.
- High torque work: wheel nuts, larger flanges, suspension and drivetrain jobs.
How to Use a Torque Wrench Without Guessing
Before you start, check the tool calibration status, inspect the socket, and make sure the fastener threads are clean. Dirt, rust, and old thread locker can change the reading and make a good wrench look wrong. If the job spec calls for lubrication, apply it consistently to every fastener in the set. If not, keep the threads dry. Mixing the two will affect the clamping force.
Set the value carefully and tighten in one smooth motion. Do not jerk the handle or use a torque wrench to break loose a seized fastener. That damages accuracy. For click style tools, stop once the click is felt or heard. For digital tools, watch the display and stop at the target. On larger assemblies, tighten in stages and in the correct pattern, especially where a cover or flange must sit flat.
- Set the tool before bringing it to the job.
- Use the correct socket size with no excessive play.
- Tighten in the order given for the assembly.
- Check the setting again if the job is interrupted.
Common Workshop Jobs That Need Better Control
In Pinetown, New Germany, and Westmead, many workshops handle mixed trade work in one space. That means the same team may move from machinery repair to vehicle prep to site maintenance in a single day. A controlled tightening routine helps keep the work consistent, even when different people are touching the same job.
Jobs that usually benefit from a torque tool include wheel fastening, pump covers, motor mounts, gearbox housings, brackets on fabricated frames, and electrical panel fittings. For DIY users, it also helps on trailer maintenance, bicycle parts, furniture fixings, and home equipment repairs where over tightening can split a part or pull a thread. In a load shedding period, when work is being pushed into shorter operating windows, a repeatable process also saves time and rework.
- Wheel and trailer maintenance.
- Pumps, motors, and driven equipment.
- Electrical cabinets and control panels.
- Small fabrication and assembly work.
Simple Checks Before You Buy or Replace a Tool
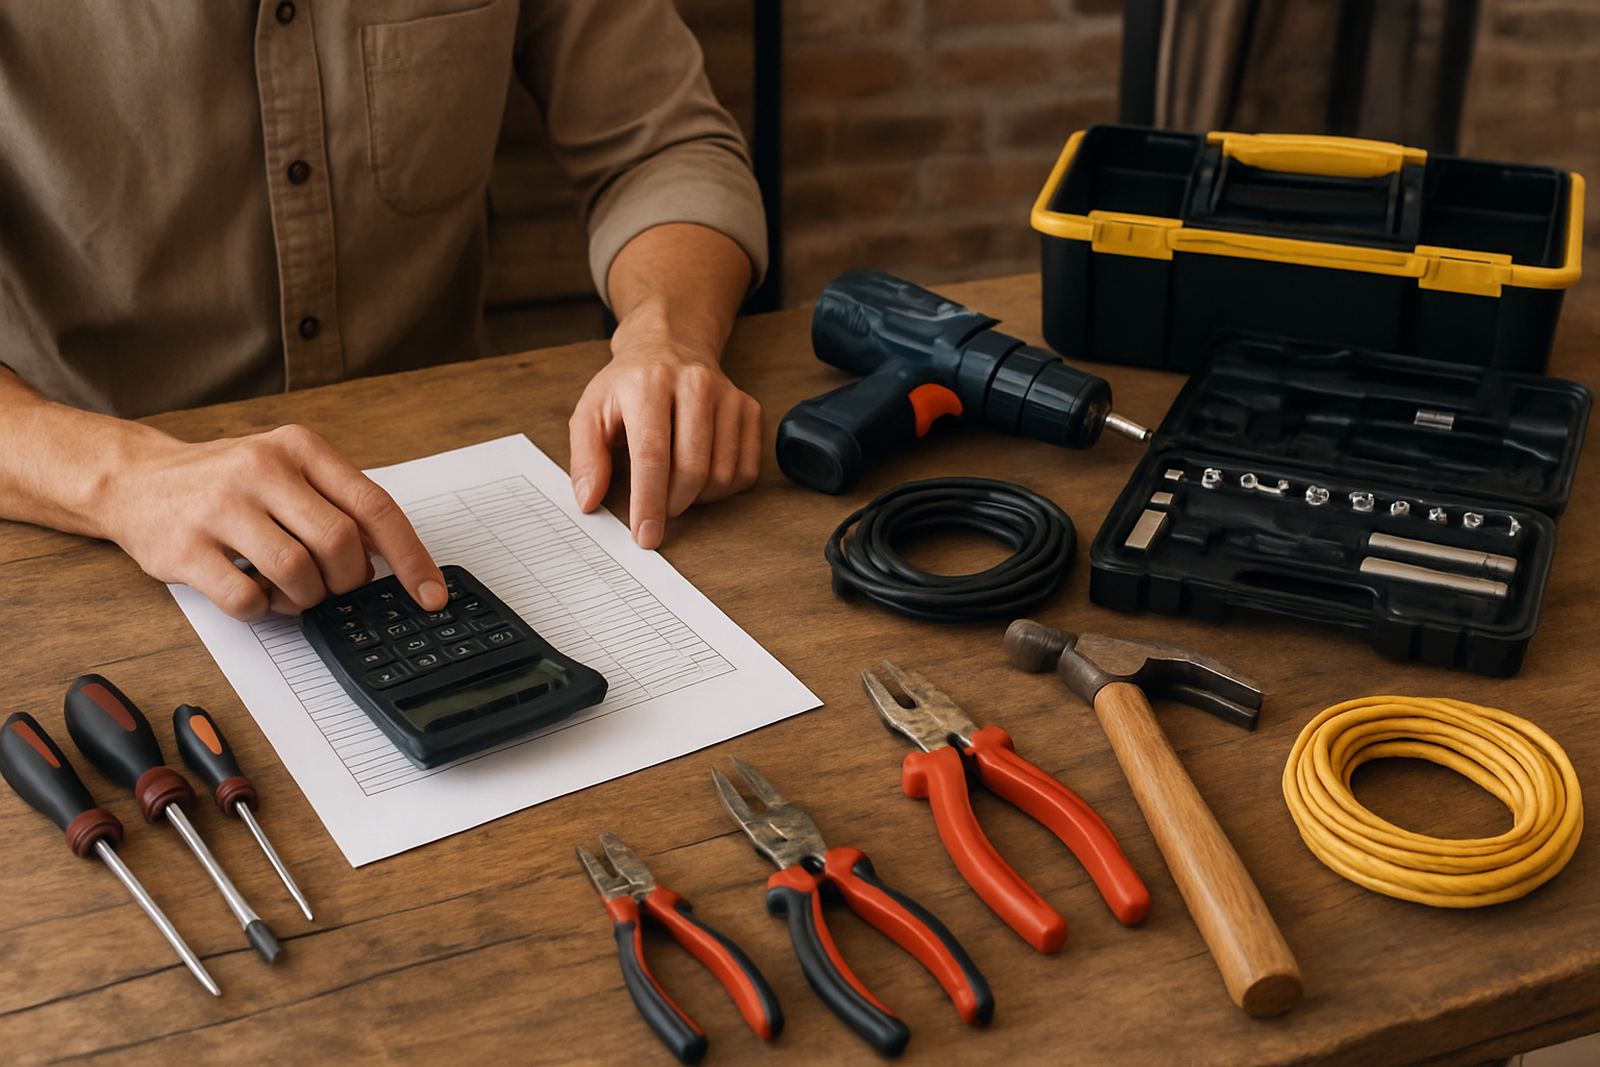
Not every workshop needs the same setup. A new trade workshop in Hillcrest may need a smaller starter set with one or two torque tools, while a busier shop in Durban North may need several ranges so work can move faster. Before you buy, list the jobs you do each week and note the fastening sizes, torque values, and how often the tool will be used. That gives you a practical picture of the range you need.
Also think about storage and handling. Torque tools should be kept clean, returned to the lowest setting after use, and protected from knocks. If a tool has been dropped, used beyond its range, or sat unused in a humid store room, it should be checked before it goes back into service. Replacement matching matters too, because a poor match can slow the team down or give a false sense of accuracy.
- Match the range to your most common fasteners.
- Choose a tool that is easy for your team to read and reset.
- Keep records if several staff members use the same tool.
- Inspect for wear, drift, or damage after heavy use.
A Practical Torque Control Checklist for the Workshop Floor
Use this checklist before signing off a fastening job. It keeps the process consistent and it helps younger technicians build good habits early. If you train new staff, keep the steps simple and repeat them on site and in the workshop so the method becomes part of the routine.
- Confirm the required torque value from the job card or manufacturer note.
- Check that the fastener, washer, and mating surface are clean and ready.
- Set the tool to the correct range before tightening.
- Use the right tightening pattern for the assembly.
- Recheck any fasteners that were disturbed during the job.
- Return the tool to the storage setting after use.
- Report any damage or unusual feel before the tool is put back in rotation.
For workshops in Durban and surrounding areas, good torque practice reduces call backs and avoids the cost of fixing preventable damage. If you are setting up a new space or refreshing your current stock, it is worth building torque control into the plan from day one.
Getting the Right Support for Your Workshop
Jameson Tools works with trade workshops, maintenance teams, and hands-on DIY users across Pinetown, Westmead, New Germany, Hillcrest, Durban North, and Umhlanga, with courier delivery nationwide. If you need help choosing a range, building a starter kit, or standardising a stock list for several users, practical guidance makes the buying decision easier. We also support on-site tool inductions and workshop setup advice, which is useful when a team is taking on new equipment or a fresh set of jobs.
For orders or tool planning support, email orders@jameson.co.za. If you are unsure where to start, send through the types of jobs you do and the torque values you work with most often. That gives a clear base for choosing the right equipment and avoid wasteful overspending.