
Why the right clamp matters on South African job sites
In a busy workshop, clamping is often treated as a quick step before the real work starts. That is where problems begin. If the pressure is too light, timber shifts, steel chatters under the blade and drilled holes wander. If the pressure is too heavy, softer material can mark, bow or crush.
For trade workshops in Pinetown, New Germany and Westmead, the right clamp choice saves time on rework and helps keep jobs moving when power is off or loadshedding cuts the rhythm of the day. A proper clamp also gives you two free hands for layout, fixing, trimming and inspection. That matters whether you are cutting flat bar, assembling a frame or holding parts for sanding.
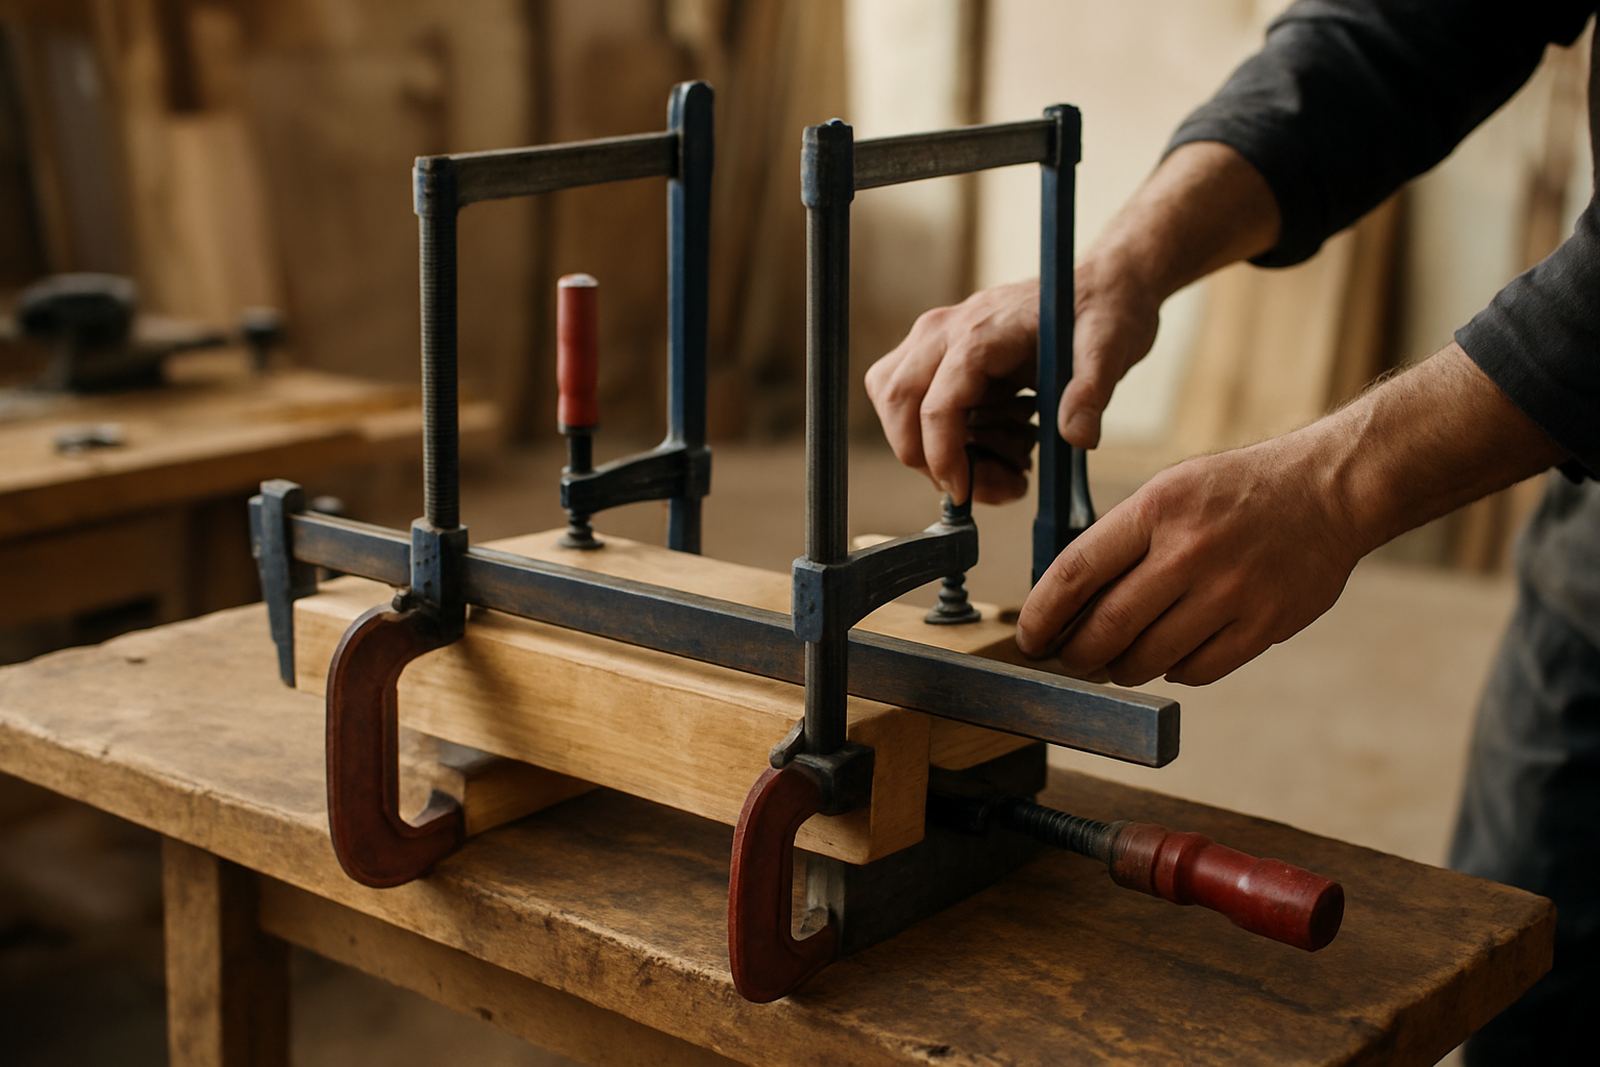
Start by matching the clamp to the task, not just the size of the material. A quick-release clamp is handy for repeated light work, while a screw clamp gives more control for a tighter hold. For wider boards or awkward shapes, a bar or pipe style clamp may suit better because it spreads pressure more evenly.
Match clamp style to the material and the job
Different materials respond differently to pressure. Pine dents quickly, mild steel needs firm grip, and laminated boards can lift if the pressure is uneven. A clamp that suits one task may be the wrong choice for the next one, so it helps to keep a few styles on hand.
- Use light to medium pressure for softwood, plastics and finished panels.
- Use firmer pressure for metal, heavy brackets and alignment work.
- Use wider jaws or protective pads when you need to protect painted or polished surfaces.
- Use multiple clamps on long workpieces so the force is shared evenly.
It is also worth checking the length of the clamp before you start. A short clamp may hold one end well but leave the middle loose, while an oversized clamp can get in the way of the cutter or grinder. In a workshop in Hillcrest or Durban North, where space is often tight, that extra clearance can make the difference between a neat setup and a messy one.
Set pressure so the work stays put without damage
Clamp pressure should be enough to stop movement, but not so much that the material distorts. A common mistake is winding down harder than needed because the operator wants to feel security in the handle. In practice, security comes from even contact, good placement and the right number of clamps.
Before tightening fully, seat the workpiece first. Tap it square, check your mark lines, then bring the clamp down in stages. On longer jobs, tighten the centre clamp first if you are holding a board flat, then work outwards. That helps reduce bowing and keeps the edges aligned. For metal fabrication, place the clamp close to the cutting line but leave enough room for the blade or disc to pass safely.
If the clamp leaves an imprint, back off and add a pad or a wider jaw face. On coastal jobs around Umhlanga, corrosion and moisture can also affect grip. Wipe down clamp faces after use and keep threads lightly maintained so they do not seize up over time.
Simple checks before you switch on the tool
Before you cut, drill or grind, run a quick check. It takes less than a minute and can prevent expensive mistakes. This is especially useful when several people are sharing the same bench or when a trainee is setting up the job under supervision.
- Check that the clamp is seated square to the workpiece.
- Make sure the jaw faces are clean and free of swarf.
- Confirm the tool path has clearance from the clamp body.
- Test for movement by pressing the material by hand.
- Inspect the screw, thread or release mechanism for wear.
If you are setting up near a generator or working through power interruptions, keep your clamp and tool layout simple. Fewer loose items on the bench means less chance of knocking a part out of line when the lights go off and come back on again.
Build a clamp routine for repeat jobs
Workshops that do repeat jobs benefit from a standard clamping routine. It saves time, keeps quality steady and makes training easier for new staff. For example, if you regularly cut mild steel tube or assemble timber frames, use the same clamp positions, the same pressure points and the same inspection step every time.
A useful routine might include:
- Choose the clamp style based on the material.
- Prepare the surface and remove dust, oil or chips.
- Position the workpiece and mark the cutting or drilling line.
- Tighten the clamp in stages and check alignment.
- Test for movement before the tool starts.
This kind of routine works well in smaller workshops too, especially where the team is mixed between experienced tradespeople and DIY users. It cuts down on guesswork and helps everyone understand what a proper setup looks like.
A Pinetown example from a working trade bench
A small maintenance team in Pinetown was running through timber and light steel jobs for a local premises upgrade. They had the right cutting tools, but the finish was poor because the material kept shifting. After changing the setup to use the correct clamp style for each job, the cuts improved straight away and the team spent less time reworking edges.
On the timber side, the team used broader jaw contact and lighter pressure to avoid marking. On the steel side, they moved to firmer clamping and checked clearance before each cut. The result was cleaner edges, better safety and less waste. It was not about buying more gear, just using the clamp properly and matching it to the task.
That same approach helps across Durban and the surrounding areas. Whether you are based in Westmead, Hillcrest or running deliveries out to Durban North, a careful clamp setup pays for itself in fewer mistakes and better output.
Keep your clamp stock ready for daily use
Clamps are often overlooked when workshops restock, yet they are some of the most used items on the bench. If you are setting up a new space or upgrading an old one, keep a range of sizes and styles ready so you are not forcing one clamp to do every job.
It also helps to review clamp condition as part of your workshop refresh. Replace worn screw threads, bent bars and damaged jaw pads before they become a problem. If you are standardising stock for a team, make sure everyone knows which clamp types are used for light assembly, heavier holding and delicate finishes. That keeps the workshop tidy and reduces confusion when orders come through fast.
With the right clamp, the right pressure and a simple routine, your work stays secure from the first cut to the final fit. Small habits like these make a big difference in daily trade work and they are easy to train into the team.