
Start With A Proper Hammer Check
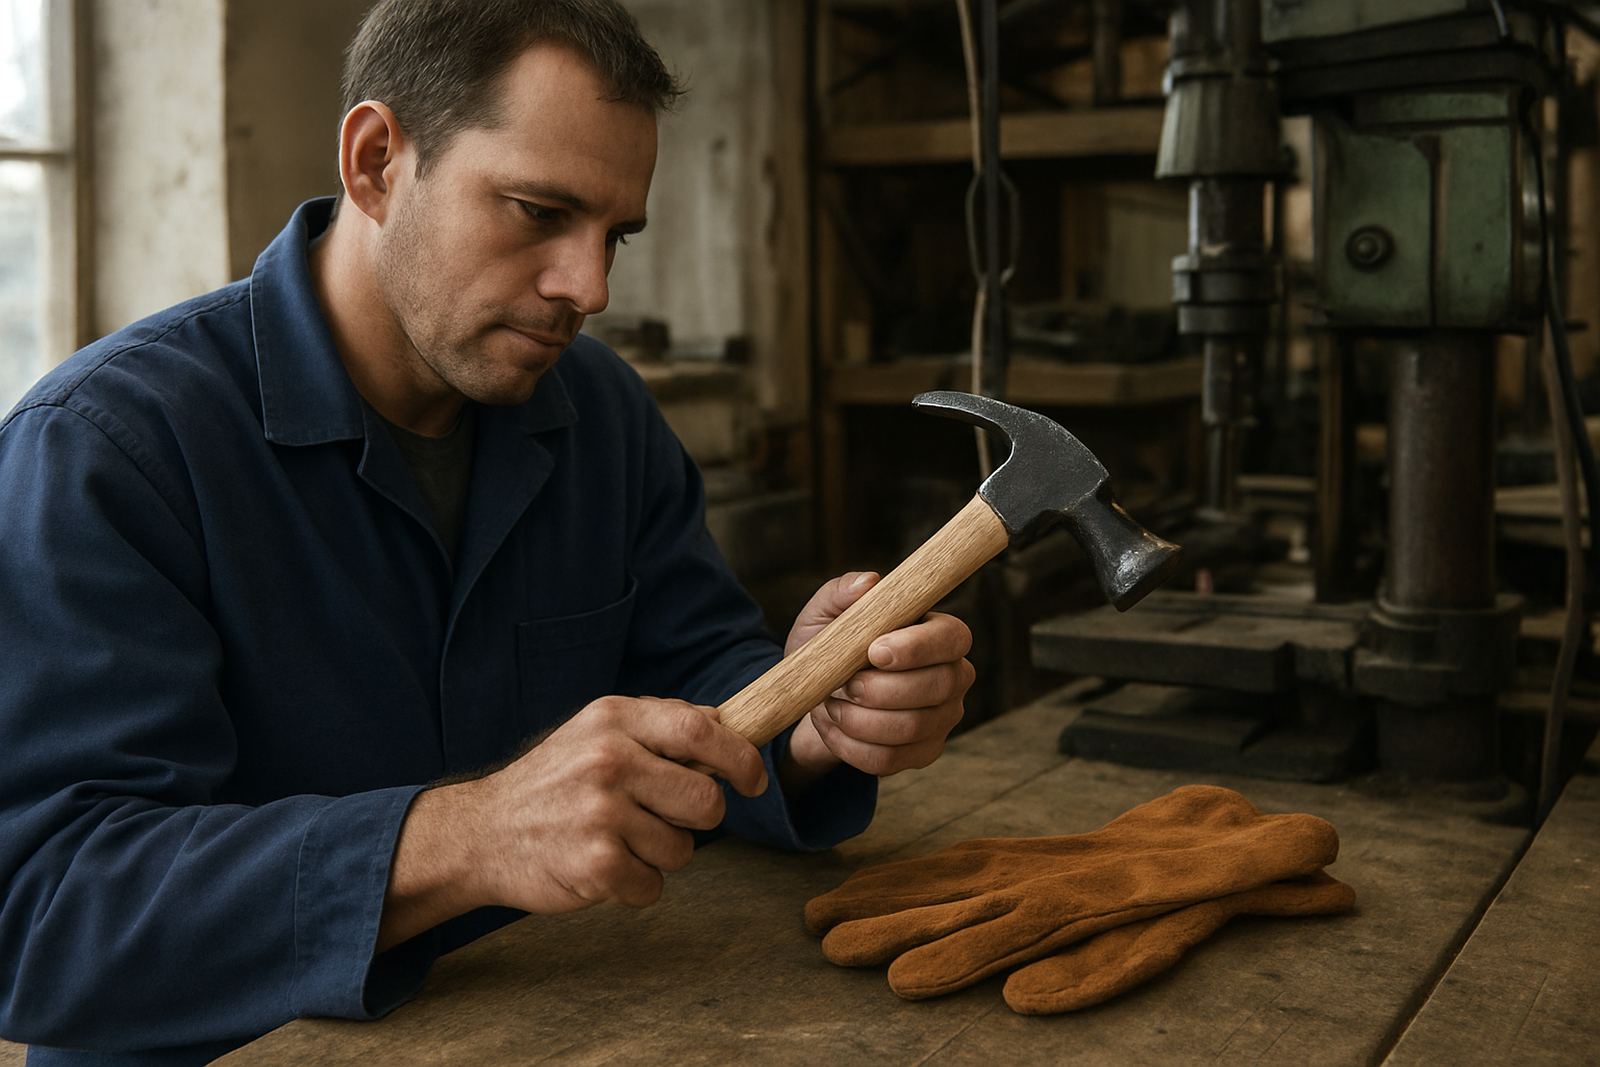
Before any shift starts, pick up the hammer and look at the head, handle and striking face. A loose head, split handle or mushroomed striking face can turn a normal job into a repair case. If the head moves at all or the shaft has visible cracks, take it out of service straight away.
Check for oil, grease and fine dust on the grip too. In workshop conditions around Westmead or New Germany, that build-up often happens quicker than people think. It only takes one slip for the hammer to glance off a nail, pinch a finger or damage a finished surface.
- Check that the head is secure and centred
- Look for cracks, chips and bent claws on claw hammers
- Make sure the handle is not swollen, split or polished smooth by wear
- Keep the striking face clean and free of burrs
Use The Right Grip And Stance
A good grip does not mean squeezing the handle as hard as possible. Hold the hammer firmly enough to control the swing, but not so tight that your wrist locks. Keep your hand dry and use gloves only if they still let you feel the handle properly. If the glove is too loose, the hammer can twist on impact.
Your stance matters just as much. Stand with your feet apart, face the work squarely and keep your non striking hand well clear of the line of travel. On repetitive jobs like fitting battens or assembling frames, reset your stance every few blows rather than leaning in closer and closer. That small habit reduces strain and gives you better aim.
In humid Durban conditions, handles and gloves can feel slick by mid morning, especially in stores close to the coast. Wiping down the grip and taking a short break to dry your hands can make a real difference, and it costs nothing.
- Keep wrists straight, not bent sideways
- Hold near the end of the handle for control and power
- Plant your feet before the swing starts
- Never place your free hand near the impact point
Strike In A Controlled Line
Most thumb injuries happen when the hammer head does not land squarely. A controlled strike is about accuracy first, force second. Line up the nail or chisel, then bring the hammer down in a straight path. If the tool starts to drift, stop and reset rather than forcing the next blow.
For light fastening work, use enough power to do the job cleanly, not a full swing every time. Heavy swings can be useful on larger fixings, but only when the surface and fastener suit it. On smaller trade tasks, a short controlled motion is usually safer and more accurate. It also reduces noise, which helps in tighter workshop spaces where several people are working at once.
If a hammer bounces back or glances off often, the problem is usually the angle, the face condition or the wrong size hammer for the task. Do not compensate by hitting harder. Fix the setup first.
Match The Hammer To The Job
Not every hammer is meant for every job. A framing hammer, claw hammer, ball pein hammer and rubber mallet all serve different purposes, and using the wrong one increases hand strain and damage risk. A hammer that is too light makes workers over swing. One that is too heavy can tire the wrist and shoulder before the job is finished.
For South African trade workshops, it helps to standardise a few common sizes so staff are not guessing. That is especially useful in shared spaces or training environments where different people pick up different tools during the day. A clear stock list with the right hammer types for assembly, repair and general maintenance saves time and cuts mistakes.
- Use claw hammers for general fastening and nail removal
- Use ball pein hammers for metal work and shaping
- Use soft face or rubber hammers where marking must be avoided
- Keep one hammer type per task where possible
Train New Staff And Apprentices Early
Good hammer safety should be taught before bad habits settle in. New staff often strike too hard, stand too close, or hold the work in the wrong position. A short induction with live demonstrations works better than a printed note left on the wall. Show the correct grip, the safe hand position, and what a worn hammer looks like.
At a Pinetown workshop supporting local fitters and maintenance teams, we once saw a new starter using a bent claw hammer with a loose head because it was the only one within reach. The tool damaged the timber and nearly caught his index finger. After the team standardised their hand tool check at the start of each week, those near misses stopped. That kind of small change is easy to keep up with.
Training should also cover when not to use a hammer. If a surface is brittle, a fixing is too small or the work needs a softer strike, choose the right alternative instead of forcing a hammer onto the job.
Keep Hammers Ready For Daily Workshop Use
Safety improves when tools are stored and serviced properly. Keep hammers on racks or in kits where the heads cannot knock against other metal tools. In dusty workshops, a quick clean at the end of the day prevents build-up that makes the grip slippery. For teams running on load shedding schedules, it helps to do tool checks during daylight prep time, before the rush begins.
Replacement should be part of normal workshop planning, not an afterthought. If a hammer is worn, replace it before it causes damage. If the handle no longer gives a secure grip, it is not worth stretching its life for a few more jobs. A tidy, standardised tool set is easier to manage, easier to train on, and cheaper than replacing damaged workpieces.
For workshops across Durban North, Umhlanga and Hillcrest, the practical approach is simple: check the hammer, use the right size, keep the strike controlled, and train everyone the same way. That routine protects hands, protects product quality and keeps the job moving.